Requirements
Access to phpldapadmin using an account with the necessary permissions.
Create an account in phpldapadmin
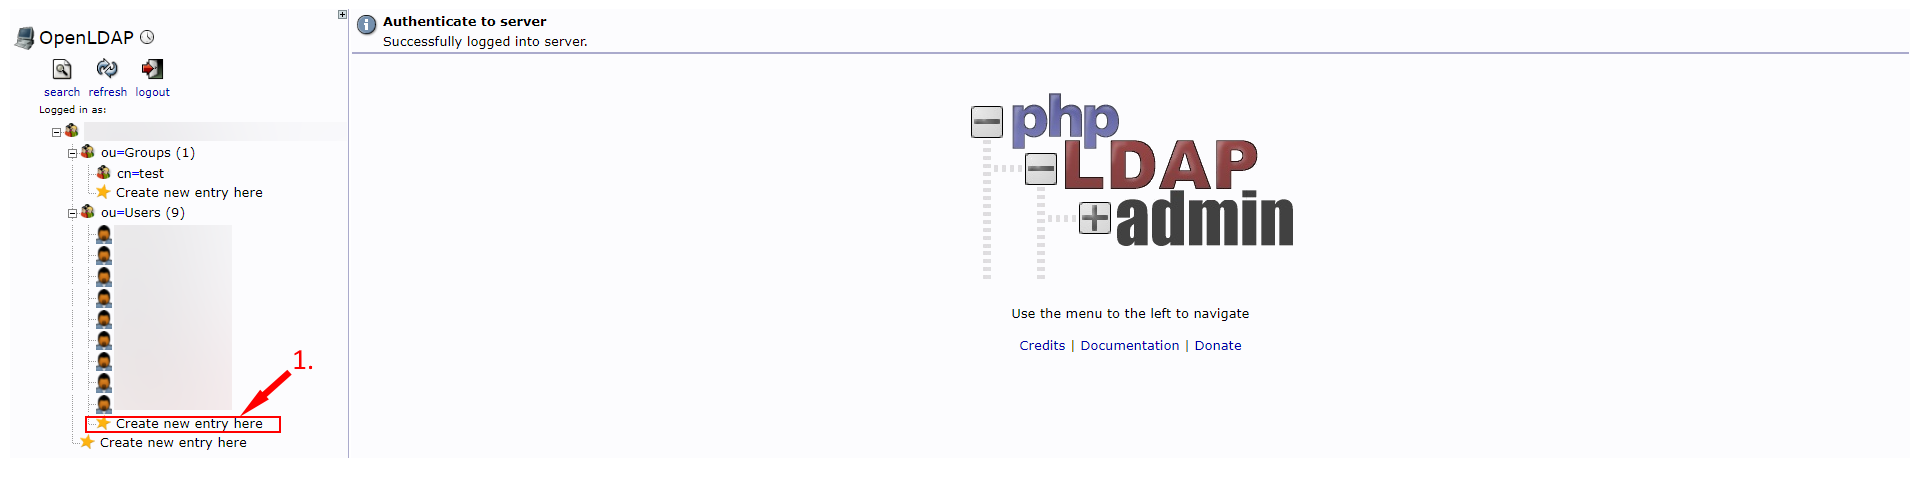
After logging in to the control panel, expand the correspondent “OU” (Organizational Unit) where the users are located. In our case, the OU is named Users (ou=Users), but it could be called anything else.
Afterward, click on the option “Create new entry here” associated with that specific OU. Alternatively, you can click on ou=Users and then click on the option “Create a child entry”. If none of the options are available, it means the account does not have any permissions to create new entries.
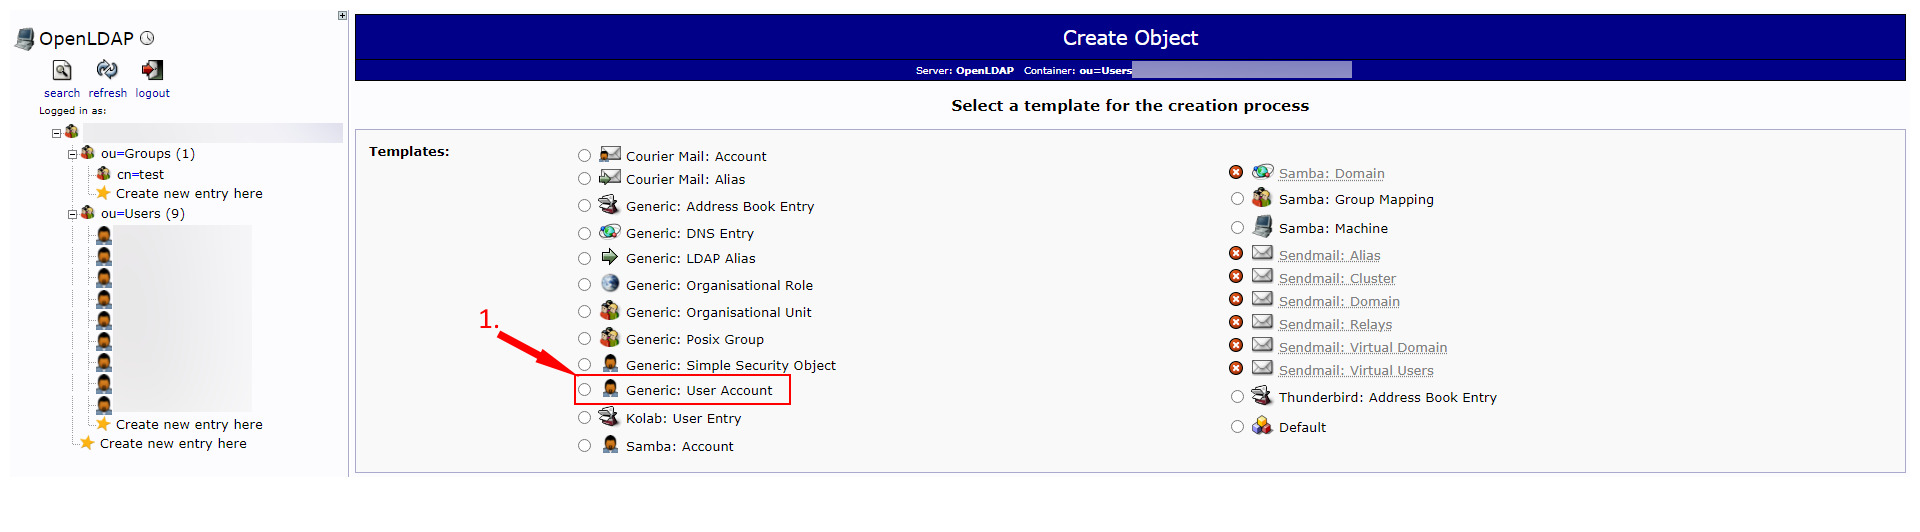
In the following step, you can select a template. For this tutorial, we will use the template “Generic: User Account” which already contains the necessary fields to create a user account.
In case this step doesn’t show for you, it means there is only one template available. And if it’s the case, skip this step.
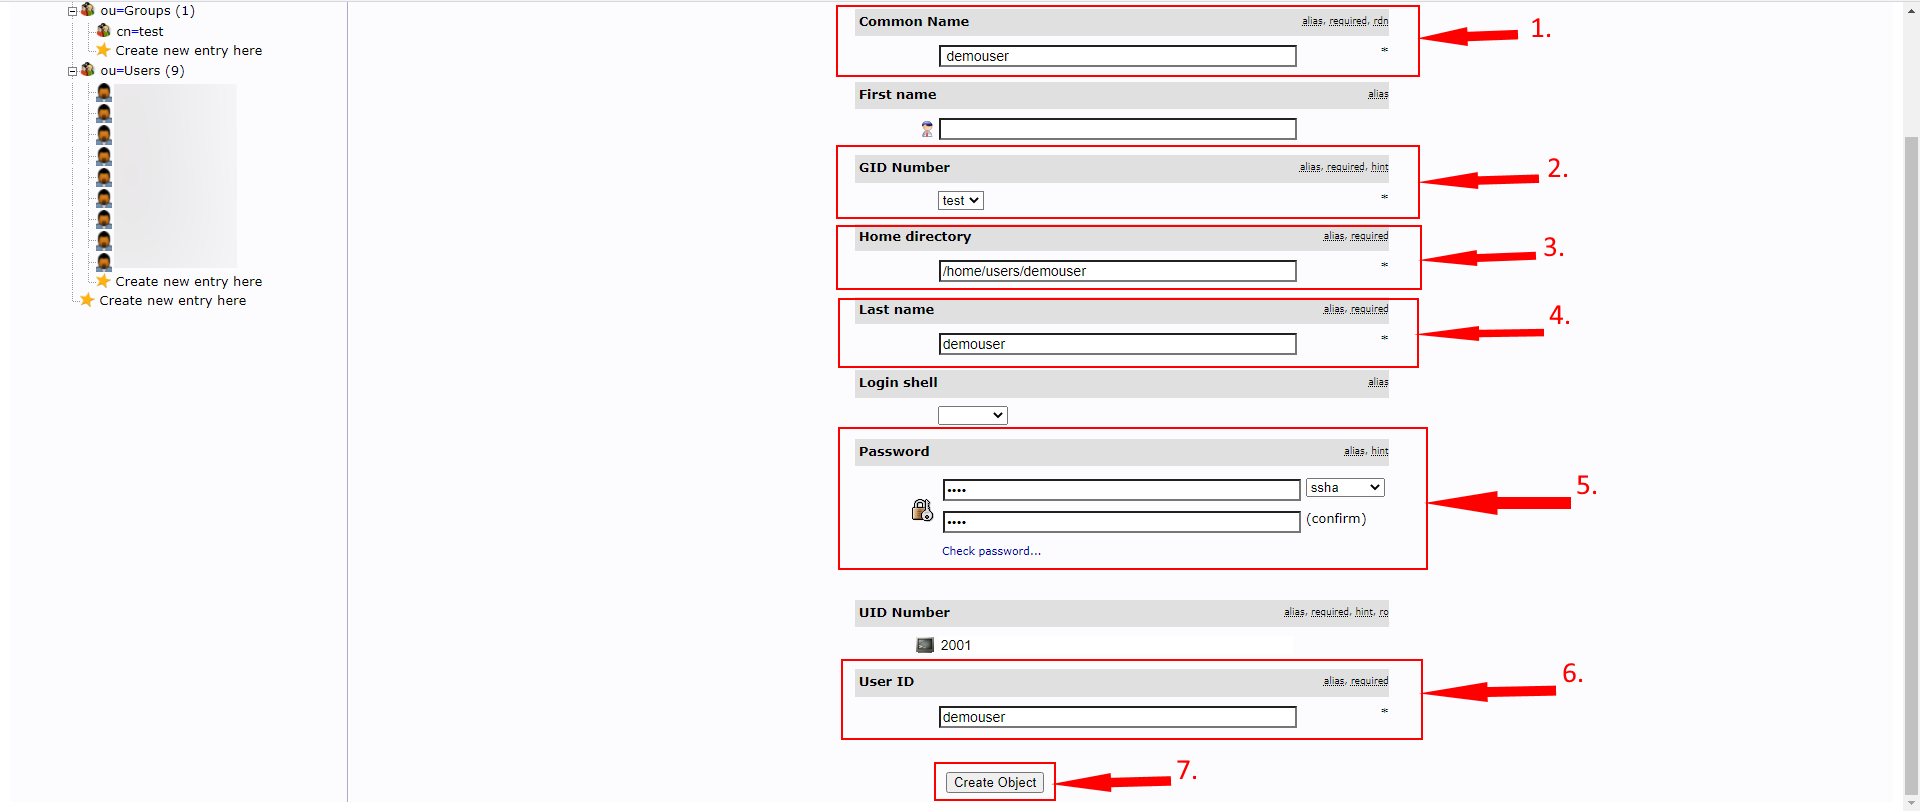
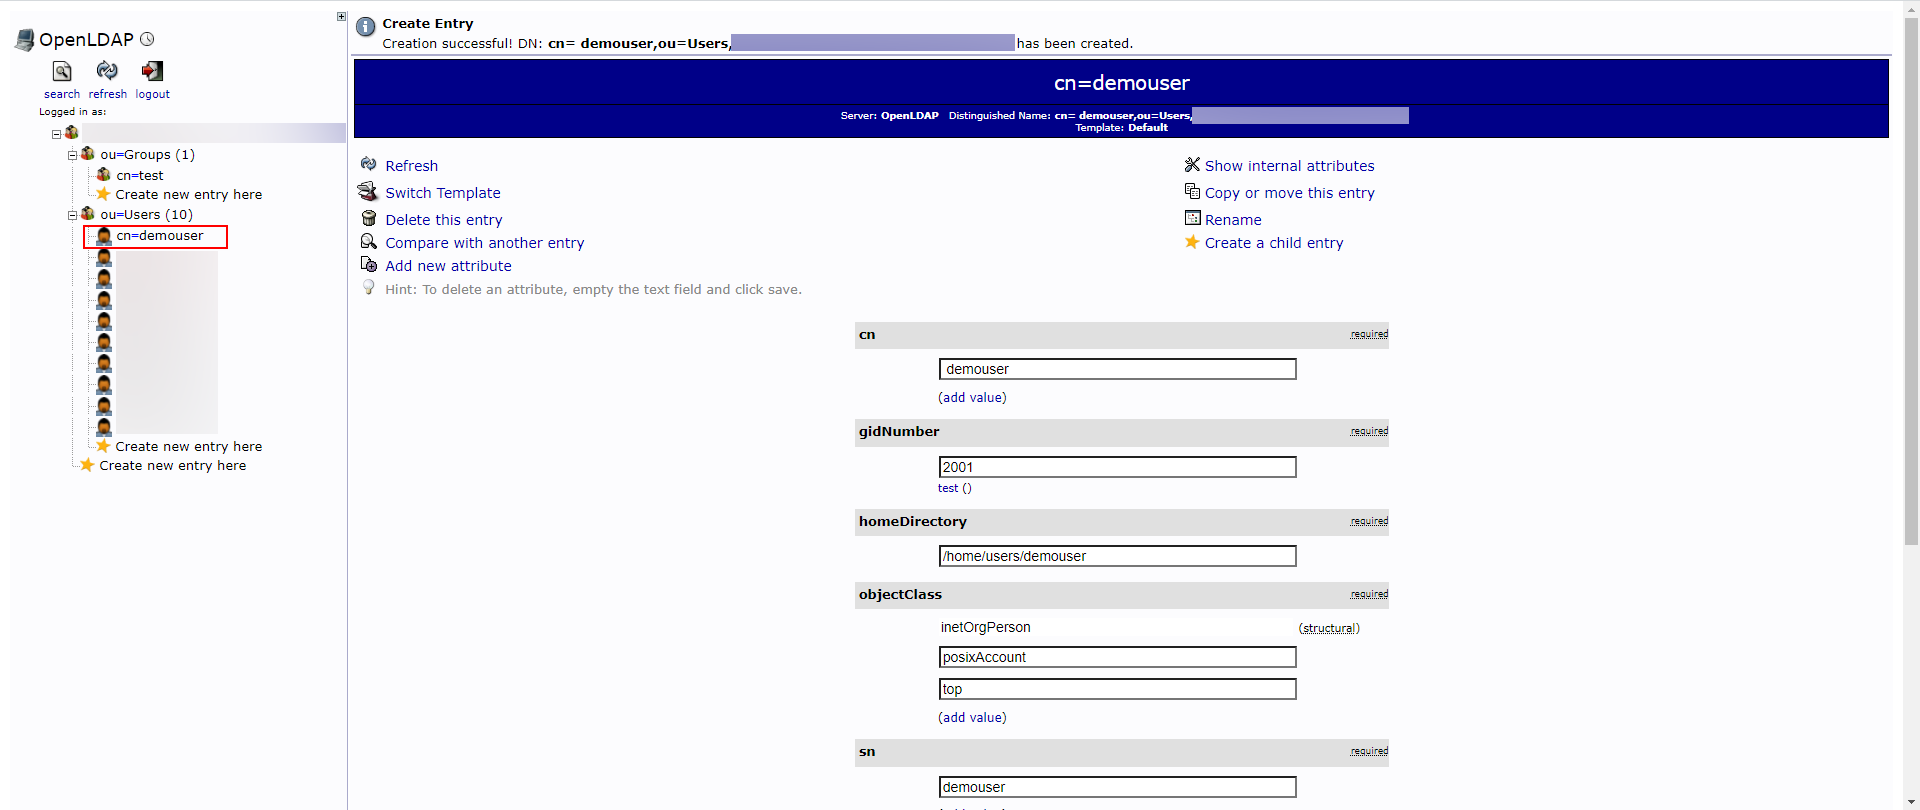
Some fields are mandatory to be filled in this step. The “Common Name“, “GID Number” (Group ID), “Home directory“, “Last Name” and “User ID” are mandatory. When you input some information in one of the fields, others may be filled automatically.
The final step will show a brief summary before creating the new user account. Click “Commit” to create the new account.
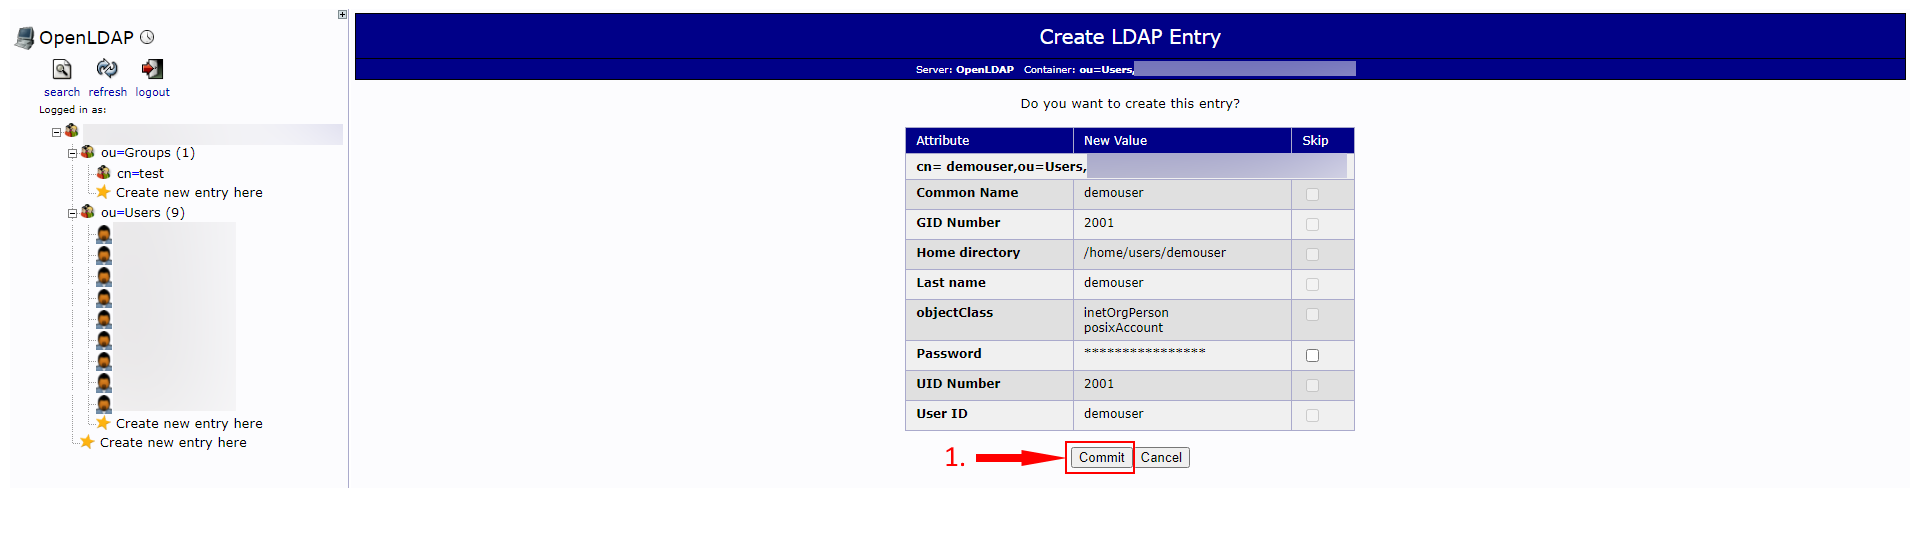
Once the server process your request, the new account will appear on the list, and it will also show a successful message at the top of the webpage.
Conclusion
Congratulations, you learned how to create an account on phpLDAPadmin.
Did you like the article? Share and help others!